
Last updated November 4, 2026
 Wrought iron
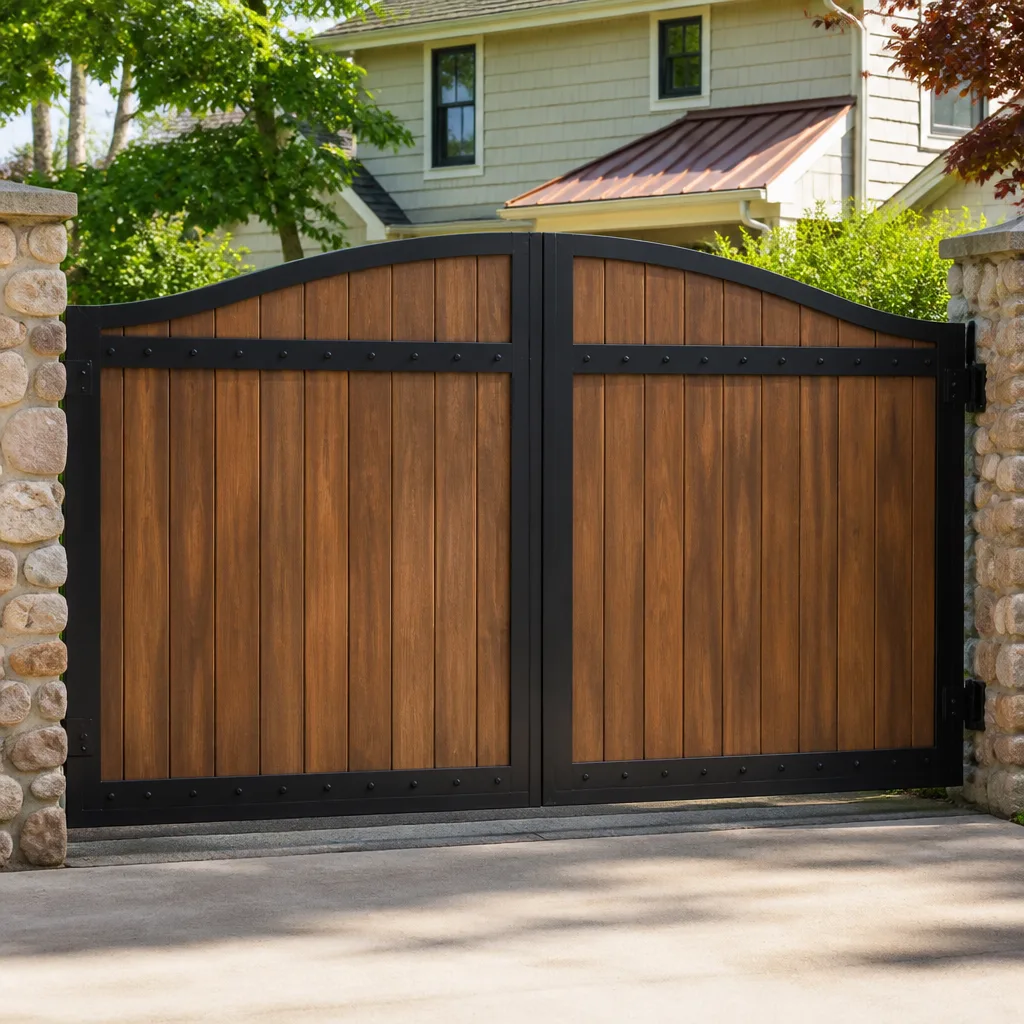 Wood & steel frame
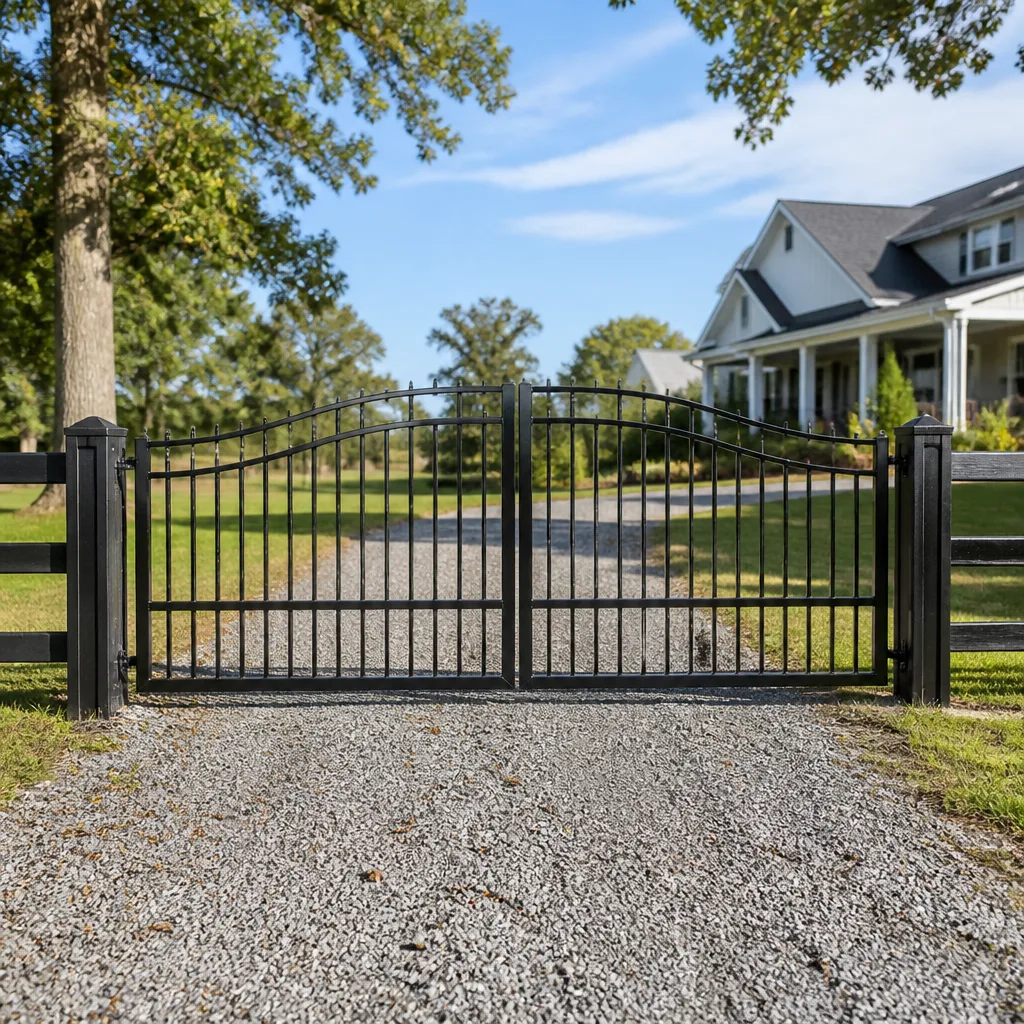 Farm & ranch
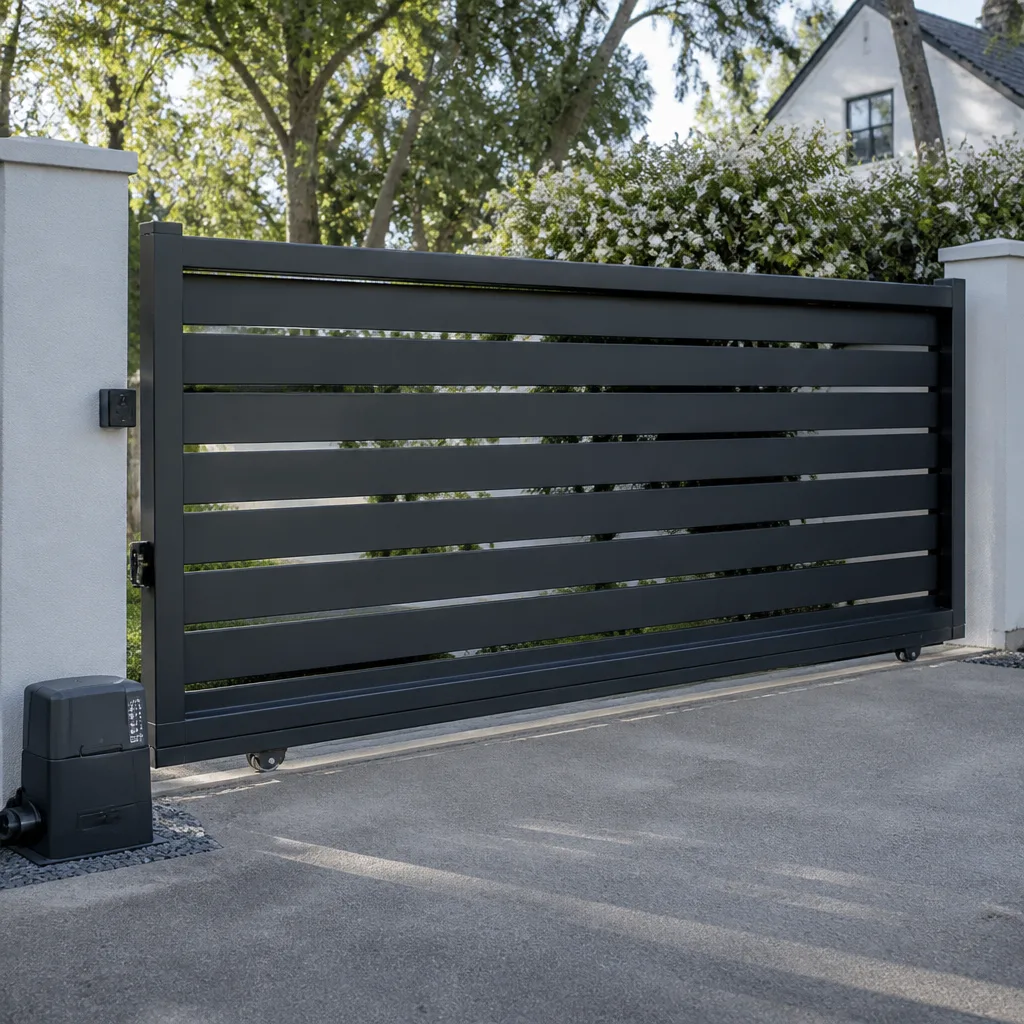 Sliding driveway gates
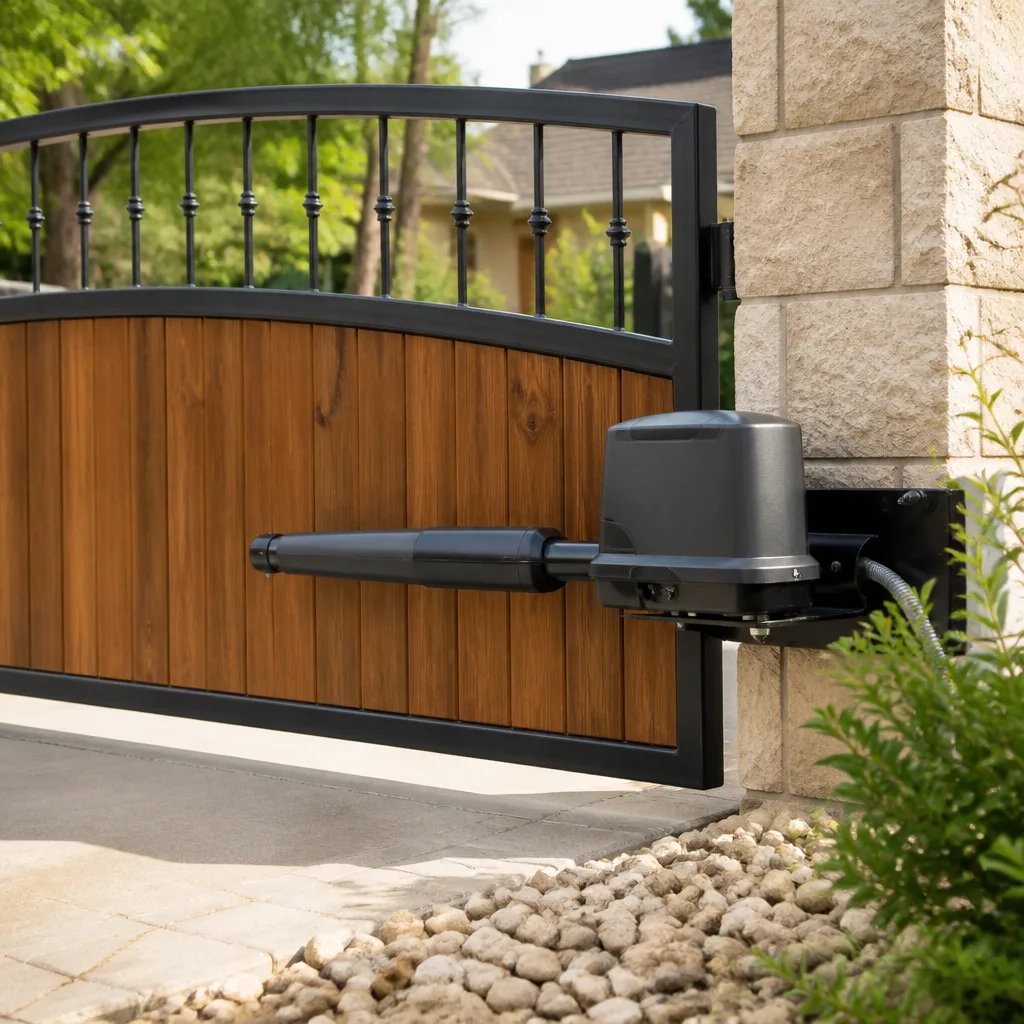 LiftMaster operators
Free on-site gate assessment - hinges, posts, and your LiftMaster or Nice gate operator checked before anything is quoted
The assessment is free and the quote is the invoice.
Get your free estimateGate Repair Maintenance Checklist for Baldwin Park Homeowners
Most Baldwin Park homeowners think a gate either works or it doesn’t, and maintenance means spraying some lubricant on the hinges when it starts squeaking. That’s the exact thinking that turns a $40 tune-up into a $1,400 operator replacement. The truth is automatic gates are mechanical systems with measurable wear points, and every major manufacturer from LiftMaster to DoorKing publishes service intervals for a reason. This guide gives you the same checklist our technicians use, tied to specific failure points, because the gate that gets inspected on schedule is the one that doesn’t strand you at 6:45 on a Monday morning. At the end, you’ll know what to check at 90 days, 6 months, and annually, which lubricants belong where, and how to test your safety sensors correctly.
Styles & brands we work with
- Wrought iron
- Wood & steel frame
- Farm & ranch
- Sliding driveway gates
- LiftMaster operators
Quick Answer
A proper gate maintenance checklist for Baldwin Park homeowners covers three intervals: at 90 days post-installation (torque hinges and check operator backlash), every 6 months (test safety reversal, clean photoelectric sensors, inspect wiring insulation), and annually (check battery voltage if applicable, inspect gear teeth for wear, and verify all limit switches). Most failures our team sees come from skipping the 90-day adjustment, which every operator manufacturer lists in warranty documentation. Spend 45 minutes twice a year and most gate breakdowns are preventable.
Table of Contents
- Why Residential Gates in Baldwin Park Fail Early
- What You Need Before You Start
- The 90-Day Post-Install Adjustment
- The 6-Month Inspection and Lubrication Matrix
- The Annual Deep-Check: Electrical and Mechanical
- How to Test Safety Reversal Correctly (Most People Get This Wrong)
- Baldwin Park Climate: UV, Heat, and the 10 Freeway Corridor
- How to Log Maintenance for Warranty and Insurance
- Common Mistakes to Avoid
- When to Call a Professional
- Frequently Asked Questions
- The Bottom Line
Why Residential Gates in Baldwin Park Fail Early
The number-one reason residential gates fail within two years of installation isn’t poor hardware. It’s owners skipping the 90-day post-install adjustment that every major operator manufacturer lists in their warranty documentation. When a gate is installed, the operator’s drive gear and the gate’s hinge posts settle under repeated cycling. Within the first three months, that settling changes the alignment by millimeters, which is enough to increase motor load and accelerate wear on gears that should last a decade. We’ve opened operators from Mighty Mule and LiftMaster that were destroyed not by defect, but by owners who never adjusted the gate after the first season of use.
Baldwin Park’s climate adds another factor. Prolonged heat, direct sun exposure, and occasional strong winds put stress on wiring insulation and exposed components that wouldn’t fail as quickly in milder conditions. Gates that face west into afternoon sun get the worst of it. The PVC jacket on low-voltage wiring dries out and cracks, letting moisture into the conductor. That’s rarely covered under warranty because it’s classified as environmental wear. A gate on a Baldwin Park property near the 10 Freeway corridor also picks up fine particulate from constant vehicle traffic, which settles into grease points and forms an abrasive paste that accelerates hinge and gear wear.
None of this means your gate is fragile. It means the maintenance calendar matters more than most people think. A swing gate on a residential driveway in Baldwin Park cycles perhaps 15 times a day. That’s 5,475 cycles a year, and every cycle moves metal under load. The machines that handle that workload are designed for it, but only if the basic checks get done on schedule.
What You Need Before You Start
You don’t need a technician’s toolbox to maintain a gate properly, but you do need the right supplies. Most of these are available at any hardware store in Baldwin Park, and the total cost is under $60.
- Torque wrench or socket set sized for your hinge bolts (usually 3/8″ to 9/16″).
- Dry PTFE spray lubricant for nylon gears and plastic components.
- White lithium grease for metal hinge pins and wheel bearings.
- Electrical contact cleaner for photoelectric sensor lenses and limit switch contacts.
- Multimeter for checking battery voltage and transformer output on operators that run on DC power.
- Clean rags and a soft-bristle brush for clearing debris from gear tracks and chain drives.
- Digital log (phone note or printed sheet) for recording dates, readings, and adjustments.
If your gate uses a chain-drive operator from DoorKing or Elite, you’ll also want a chain tension gauge, but most homeowners can check tension by hand with the method described in the annual section below.
The 90-Day Post-Install Adjustment
If you have a new gate or a newly installed operator, mark the 90-day date on your calendar the day installation is complete. This is the single most important maintenance task in the life of the gate, and most Baldwin Park homeowners never do it.
Why it matters: During the first 90 days, the gate’s weight settles hinge posts into the ground by a few millimeters, the operator’s drive gear beds into the rack or chain, and cable connections loosen slightly from thermal expansion and contraction. Every operator manufacturer, including Mighty Mule, LiftMaster, DoorKing, and Elite, specifies an initial adjustment check in their installation documentation. Skipping it means the operator works harder from day 91 onward, and that extra load is what turns a 10-year motor into a 4-year motor.
- Check hinge bolt torque. Swing gates especially. With the gate in the closed position, use a torque wrench to verify each hinge bolt is tight. If the hinge has a grease fitting, apply a small amount of white lithium grease and wipe off excess.
- Inspect the drive gear or rack engagement. For slide gates, look at where the operator’s gear engages the rack. There should be no more than 1/16″ of vertical play. If the gear is lifting off the rack at any point, adjust the operator’s mounting plate or call a technician.
- Check limit switch settings. Run the gate open and closed. It should stop smoothly without slamming into the mechanical stops. If it bounces on arrival, the limit switches need adjustment.
- Re-tighten all electrical connections. Kill power first. Then check every terminal block, wire nut, and spade connector in the operator housing and at the solar panel or transformer, if applicable.
- Run the safety reversal test. The correct method is detailed further down. Do not skip this on a new installation while the gate is still under warranty.
If any adjustment requires opening the operator housing and you’re not sure what you’re looking at, this is where a professional gate repair visit can pay for itself. A properly adjusted gate runs quieter and draws less current, which extends the life of every component downstream.
The 6-Month Inspection and Lubrication Matrix
Twice a year, set aside 45 minutes to go through the complete system. This is the interval that catches most problems before they become breakdowns. In Baldwin Park, the best times are late spring and late fall, when daytime temperatures are comfortable enough to work around the gate without rushing.
What to inspect every 6 months:
- Hinges and pivot points: Look for rust, scoring, or looseness. Swing gates should not sag more than 1/4″ at the latch side when fully open. Slide gate wheels should sit flat on the track with no visible gap.
- Operator housing: Open the cover and check for moisture, insect nests, or debris. Baldwin Park’s dry heat means less rust than coastal areas, but dust and spider webs accumulate inside the housing and can interfere with limit switches.
- Wiring insulation: Inspect every exposed run of low-voltage wire, especially where it exits conduit or passes through the gate frame. Look for cracking, discoloration, or brittleness on the PVC jacket. UV degradation is the most common wiring failure in Baldwin Park’s climate.
- Photoelectric sensors: Wipe both lenses with electrical contact cleaner and a clean rag. Misaligned sensors are the most common reason a gate refuses to close, and most cases are just dirty lenses.
- Chain or belt tension (if applicable): A chain should have no more than 1/2″ of deflection when pressed with moderate thumb pressure. A belt should deflect no more than 3/4″.
Lubrication matrix: The wrong lubricant in the wrong place causes more damage than no lubricant at all. Keep this table handy.
| Component | Correct Lubricant | Never Use | Why It Matters |
|---|---|---|---|
| Nylon gears in operator | Dry PTFE spray | WD-40, penetrating oil | Petroleum distillates soften nylon and cause accelerated tooth wear |
| Metal hinge pins | White lithium grease | Silicone spray | Silicone breaks down under load and leaves hinges dry within weeks |
| Slide gate wheels and track | Dry PTFE or graphite | Grease of any kind | Grease holds dust from the 10 Freeway corridor and turns into abrasive paste |
| Chain drive | Chain-specific lubricating oil, applied sparingly | White lithium grease | Grease on a chain flings off and collects debris that accelerates link wear |
| Photoelectric sensor lenses | Electrical contact cleaner | Glass cleaner with ammonia | Ammonia leaves a residue that fogs lenses in high heat |
If you’re unsure which lubricant belongs on a component, the safest approach is a dry lubricant. A wet lubricant attracts dust, and Baldwin Park’s proximity to the freeway means airborne grit is part of everyday conditions.
The Annual Deep-Check: Electrical and Mechanical
Once a year, go deeper. This is the inspection that catches issues the semi-annual check doesn’t look for. It’s also where having a multimeter and a torque wrench makes a real difference.
- Test battery voltage on DC operators. Many residential operators, especially Mighty Mule and Ghost Controls units, run on 12V or 24V DC with battery backup. A fully charged 12V battery should read between 12.6 and 13.2 volts at rest. If you’re getting 11.8 or lower, the battery is failing and the operator will struggle during power outages.
- Check transformer output. If your gate runs on AC power, verify the transformer is delivering the voltage listed on its label. A transformer that’s under-delivering causes the motor to run hot and trip its thermal overload.
- Inspect drive gear teeth on slide gate operators. Turn off power, disconnect the operator, and run your fingers along the gear teeth. You’re feeling for sharp edges, pitting, or a “hooked” shape. Teeth should be uniform and smooth. Any visible metal shavings inside the housing mean the gear is grinding itself down.
- Verify hinge torque on every bolt. Check the torque specs stamped on the hinge or in the manufacturer documentation. Most residential swing gate hinges call for between 40 and 80 foot-pounds, depending on gate weight. If you don’t have the spec, snug is not enough and overtight is worse. This is a case where calling a technician who works on gates daily is the safer route.
- Clean and re-tension the chain if needed. Remove accumulated dust from the chain with a dry rag, then apply a light coat of chain oil. Re-check deflection. Document the tension reading in your log.
- Inspect the gate frame for cracks. Focus on welded joints and any point where the gate attaches to a hinge or bracket. Hairline cracks in powder-coated iron spread quickly. Catch them before a panel separates under load.
- Run a full cycle test. Open and close the gate three consecutive times, watching and listening. Any hesitation, grinding, or erratic movement is a diagnostic clue. Note it in your log, even if the gate still works.
An annual deep-check is also the right moment to consider professional electric gate repair if you’ve noticed intermittent problems. Our team at Gate Repair Baldwin Park handles the electrical side of these systems daily, and a technician can spot a failing capacitor or a worn relay that a visual inspection misses.
How to Test Safety Reversal Correctly (Most People Get This Wrong)
The common test method most homeowners use gives a false pass. They place a hand or object in the gate’s path mid-cycle, the gate reverses, and they call it good. That’s better than nothing, but it doesn’t test the reversal system’s pressure sensitivity at the point where it matters most: the first 12 inches of travel.
Why it matters: Many automatic gate operators are designed to reverse on obstruction, but their sensitivity setting only applies to the main travel arc. In the final few inches of closing, the gate must seat firmly to lock properly, so the operator applies additional force. That means a gate can pass a mid-travel obstruction test and still fail to reverse on a child or pet in the last 6 inches of motion. For swing gates especially, that’s a serious hazard.
The correct test method:
- Disable any auto-close function. Set the operator to manual or hold-to-run mode so the gate stays where you put it.
- Place a rigid object in the gate’s path. Use a 2×4 or similar, not your hand. The object should be positioned 6 inches from the fully closed position.
- Activate the close cycle. Watch what happens when the gate contacts the object. It should reverse immediately and without excessive force.
- Repeat at three points: 12 inches from closed, mid-travel, and 6 inches from fully open. The gate should reverse at all three.
- Check the sensitivity setting. If the gate pressed hard against the object before reversing, the force setting is too high. Lower it according to the operator manual, then re-test.
Photoelectric sensors are a secondary safety layer and should never be the only one. Dust on the lens or a broken wire can disable the sensors without any visible error light on some older operators. A properly set reversal system works even if the sensors fail. If you can’t get the gate to reverse consistently at all three test points, disable the gate and call a technician. A gate that doesn’t reverse correctly is dangerous, and it’s one of the few situations where we recommend not using the gate until it’s fixed.
Baldwin Park Climate: UV, Heat, and the 10 Freeway Corridor
Baldwin Park has a climate that punishes certain gate components harder than others. Knowing which parts take the most abuse helps you focus maintenance where it actually matters.
UV degradation on wiring insulation: This is the biggest preventable failure in Baldwin Park. The sun’s UV radiation breaks down PVC insulation on low-voltage wiring within three to five years, faster if the wire is exposed on a south- or west-facing gate. Once the jacket cracks, moisture enters and corrodes the copper conductor from the inside. The failure is invisible until the gate stops working. During your 6-month inspection, gently bend exposed wire segments. If the insulation feels stiff or shows fine cracking, replace the run now rather than waiting for a short.
Heat build-up in operator housings: Operators mounted inside dark metal housings bake in Baldwin Park’s summer afternoons. Internal temperatures can exceed 140°F, which degrades electrolytic capacitors and shortens the life of control boards. Ensure the housing has adequate ventilation and keep vegetation trimmed back from the operator so air can circulate.
Particulate from the 10 Freeway corridor: Properties near the 10 Freeway get a steady coating of fine dust and micro-particles from vehicle exhaust and tire wear. This material is abrasive. When it mixes with wet lubricant on a slide gate track or chain, it forms a grinding compound that wears metal surprisingly fast. Use dry lubricants on anything exposed to airborne dust, and wipe down tracks and chains during every inspection, not just annually.
Wind and gust loading: The Santa Ana winds that come through Baldwin Park in the fall put high lateral loads on swing gates, especially solid gates that catch wind like a sail. Each gust stresses hinge welds and operator mounts. If you have a solid swing gate, check hinge bolts after every significant wind event, not just on the scheduled intervals. If you notice the gate vibrating or rattling in wind, adding a second set of hinges or upgrading to a heavier track wheel can make a real difference.
How to Log Maintenance for Warranty and Insurance
Documentation is not busywork. It’s the difference between a warranty claim that gets approved and one that gets denied. It’s also the evidence you need if your gate causes property damage, damages a vehicle, or injures someone and your homeowner’s insurance gets involved.
Most operator manufacturers condition their warranty on proper installation and maintenance. If a control board fails at year four and you can show dated records of every 6-month inspection and annual deep-check, the warranty process is straightforward. If you can’t, the manufacturer can reasonably argue the failure was environmental because the gate wasn’t maintained. For high-value operators like DoorKing and Elite systems, that’s a real financial difference.
What to log:
- Date of every inspection. Even a 10-minute visual check.
- Components inspected. Be specific: “hinge torque on west hinge,” not “checked hinges.”
- Readings and measurements. Battery voltage, chain deflection, hinge torque values.
- Adjustments made. Document both what you changed and what you observed before changing it.
- Parts replaced or lubricated. Include brand and product name.
- Any anomalies. Unusual noise, jerky motion, error codes, sensor misalignment, even if you fixed it.
Keep the log in a digital format that’s easy to update. A phone note with dated entries works. If you ever file an insurance claim because the gate failed to reverse or a hinge broke and the gate damaged a vehicle, your maintenance log is the documentation that shows you were a responsible owner. It also helps any technician who works on your gate later, because they’ll see the full history instead of starting from scratch.
For Baldwin Park specifically, we recommend logging maintenance after major wind events and after any extended period of disuse. If your gate sat unused for a month during a vacation, that’s a data point worth recording when you run the first cycle afterward.
Common Mistakes to Avoid
- Using WD-40 on nylon gears. It’s the most common mistake we see. WD-40 is a penetrating oil, not a lubricant for nylon. It softens the plastic and attracts dust from Baldwin Park’s air, turning the gear into a grinding surface. Use dry PTFE spray.
- Testing safety reversal with your hand mid-travel only. This gives a false pass. The reversal system behaves differently in the final 6 inches of travel, which is exactly where a child or pet is most likely to be. Test at three points or don’t test at all.
- Greasing the slide gate track. Grease on a track in Baldwin Park picks up freeway dust and creates an abrasive paste. Slide gate tracks should be kept dry, or at most, treated with dry graphite or PTFE.
- Ignoring hinge sag. A swing gate that droops even 1/4″ is applying constant stress to the operator’s motor and the hinge pins. The longer it goes unaddressed, the more expensive the fix becomes. Check for sag every 6 months and address it immediately.
- Adjusting limit switches without understanding the system. Moving a limit switch a quarter-inch seems simple, but on electric operators the limit settings interact with the safety reversal system and the auto-close timer. An improper adjustment can make the gate close too hard or fail to latch. Call a technician if you can’t follow the exact procedure in your manual.
- Assuming solar means no electrical maintenance. Solar-powered operators still have batteries, charge controllers, and wiring that needs inspection. Battery voltage should be checked annually, and solar panel surfaces need cleaning just like photoelectric sensors. Dust on a panel in Baldwin Park reduces charging efficiency measurably.
When to Call a Professional
Most of the maintenance in this guide is straightforward for a homeowner comfortable with basic tools. Some tasks are not. If you see exposed or cracked wiring inside the operator housing, don’t touch it. AC-powered operators carry 120V at the terminal block, and a careless touch can cause serious injury. The same goes for any task requiring you to open the control board compartment or handle capacitors. Capacitors store charge even after power is disconnected, and discharging one incorrectly can result in a painful shock.
If your gate makes grinding sounds, hesitates mid-travel, or refuses to reverse during any part of the safety test, stop using it and call a professional. If the operator smells like burning, disconnect power at the breaker immediately and call. These are signs of serious mechanical or electrical issues, not maintenance items. Baldwin Park homeowners can reach Gate Repair Baldwin Park for a free estimate at (855) 679-6795. We’ll diagnose the problem and give you a written quote before any work starts.
Frequently Asked Questions
Inspect your automatic gate every 6 months, with the first inspection at 90 days after installation. The 90-day check matters because new gates settle and alignment shifts, which affects operator load. After that, semi-annual inspections plus an annual deep-check cover the maintenance cycle that most manufacturers recommend.
White lithium grease is the right lubricant for metal hinge pins on both swing and slide gates. It stays in place under load and resists washout. Avoid silicone spray, which breaks down quickly, and never use WD-40 on hinges with nylon bushings or on operator gears. For nylon gears, use a dry PTFE spray.
Clean both photoelectric sensor lenses with electrical contact cleaner, then test the reversal system with a rigid object at three points along the gate’s travel: 6 inches from closed, mid-travel, and 6 inches from fully open. The gate should reverse at all three points without excessive force. If it doesn’t, lower the operator’s force setting and re-test. If it still fails, call a technician before using the gate again.
Yes. Prolonged heat and direct sun exposure degrade wiring insulation and shorten the life of capacitors and control boards inside operator housings. Operators mounted in dark metal housings that face west get the worst of it. Keep the housing ventilated, trim back vegetation, and inspect wiring insulation every 6 months for cracking caused by UV exposure.
Basic maintenance tasks like lubricating hinges, cleaning sensors, checking battery voltage, and testing safety reversal are straightforward for a homeowner with common tools. Tasks involving electrical wiring, capacitor handling, limit switch adjustment, or drive gear inspection should be left to a professional electric gate technician. A wrong adjustment on an electric operator can damage the control board or compromise safety.
Our estimates are free. If you’re in Baldwin Park and need someone to look at a gate that’s acting up, call (855) 679-6795 and we’ll schedule a time to inspect it. The price is set per job by the written estimate, and you’ll see the quote before any work begins.
The Bottom Line
A gate maintenance checklist only works if it’s tied to real failure points, not generic advice about lubricating hinges and changing remote batteries. For Baldwin Park homeowners, the schedule that matters is: 90 days, 6 months, and annual. The tasks that matter are hinge torque, drive gear backlash, wiring insulation inspection, battery voltage, and the safety reversal test done correctly. Use the right lubricant on the right component, log everything, and know which tasks are safe to handle yourself. Your gate is an investment in security and property value. Thirty minutes of maintenance twice a year keeps it working like the day it was installed.
Written by the team at Gate Repair Baldwin Park, serving Baldwin Park since 2015.
See the difference
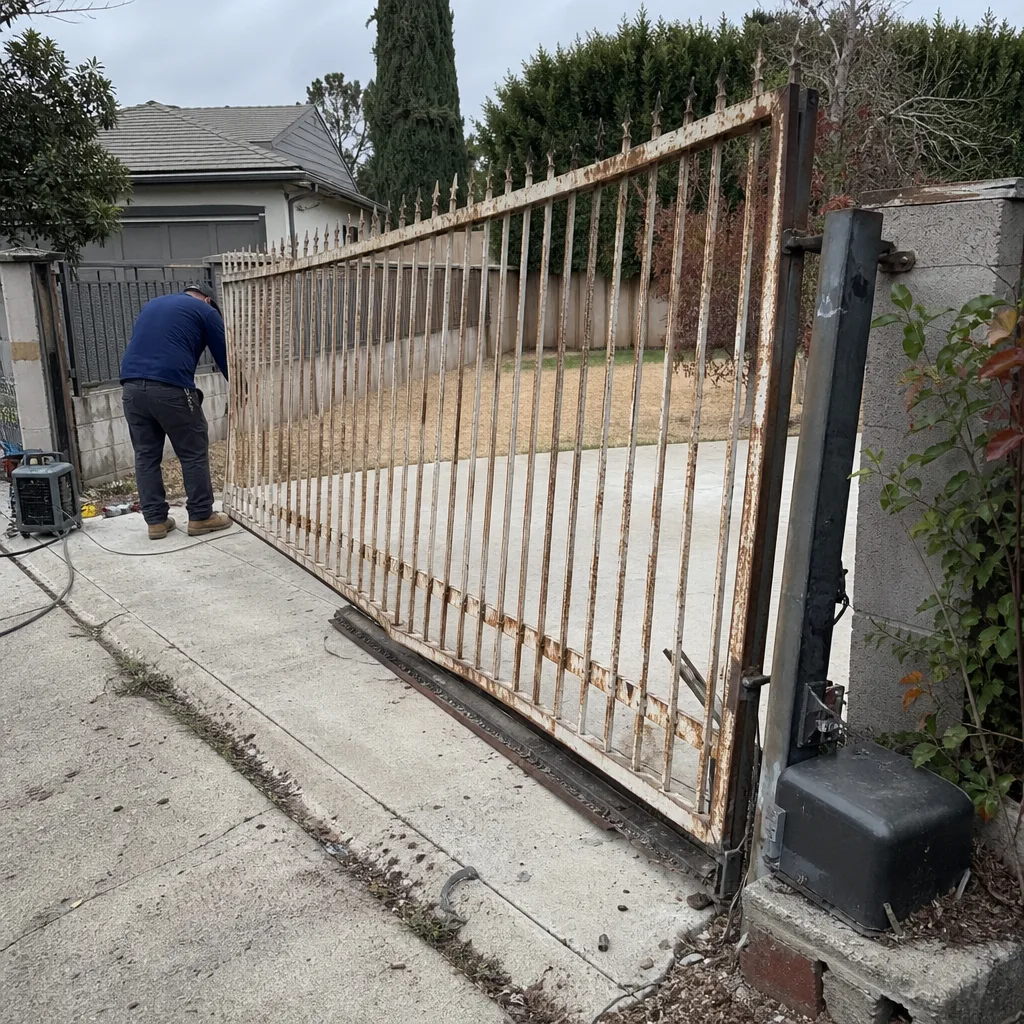 Before
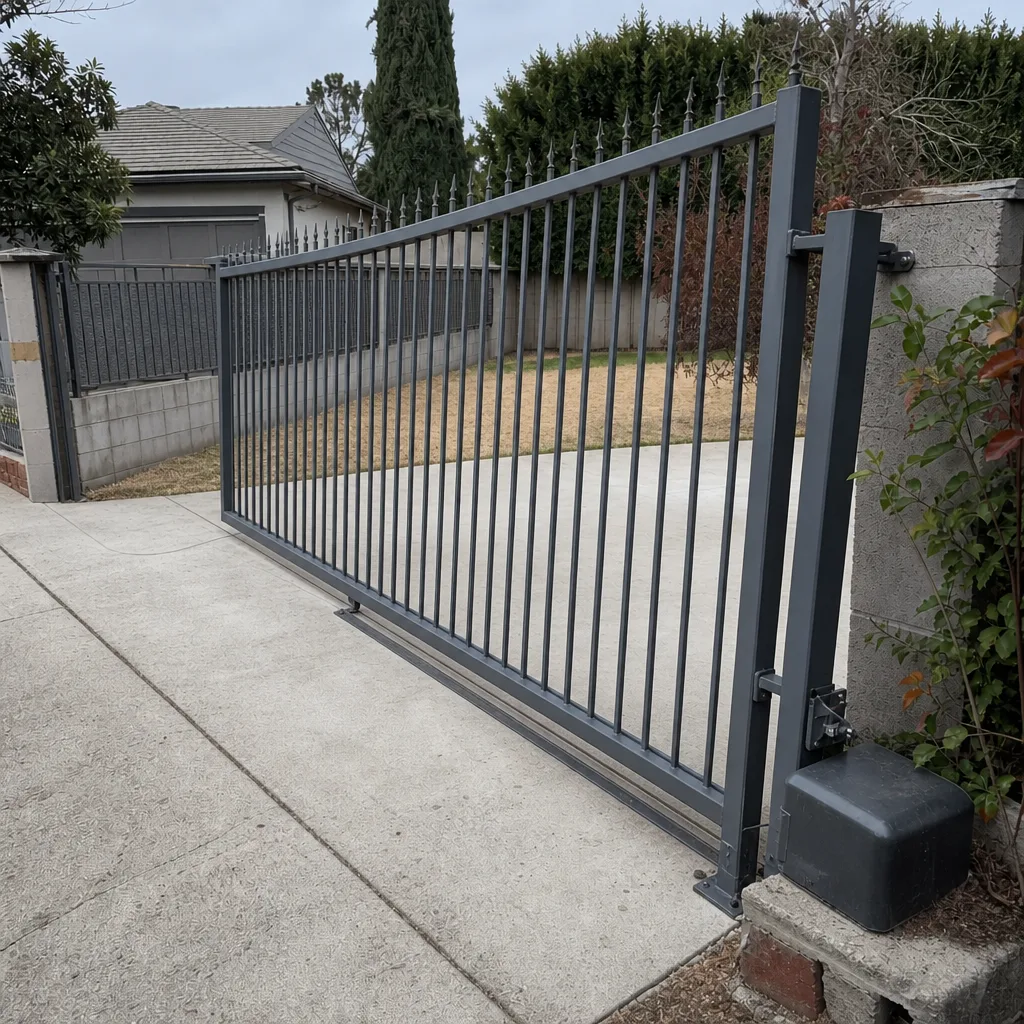 After
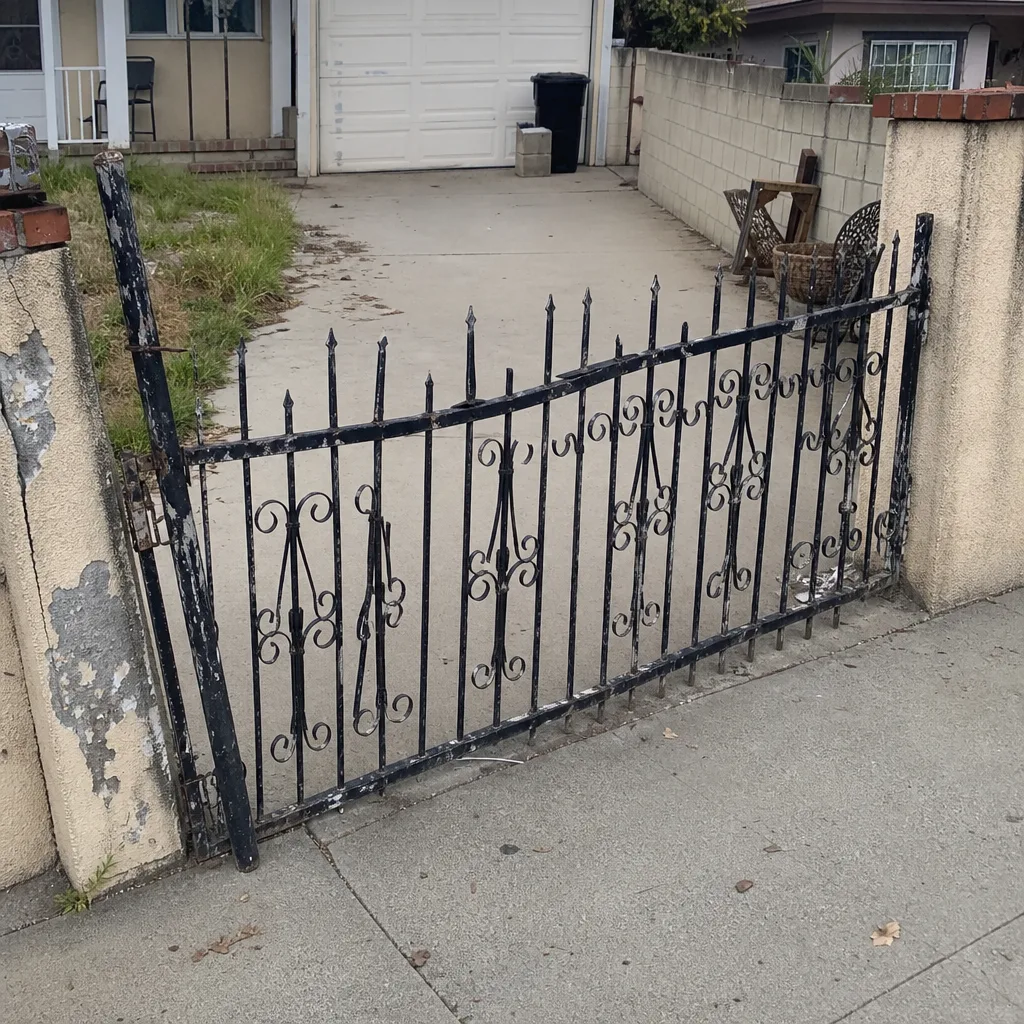 Before
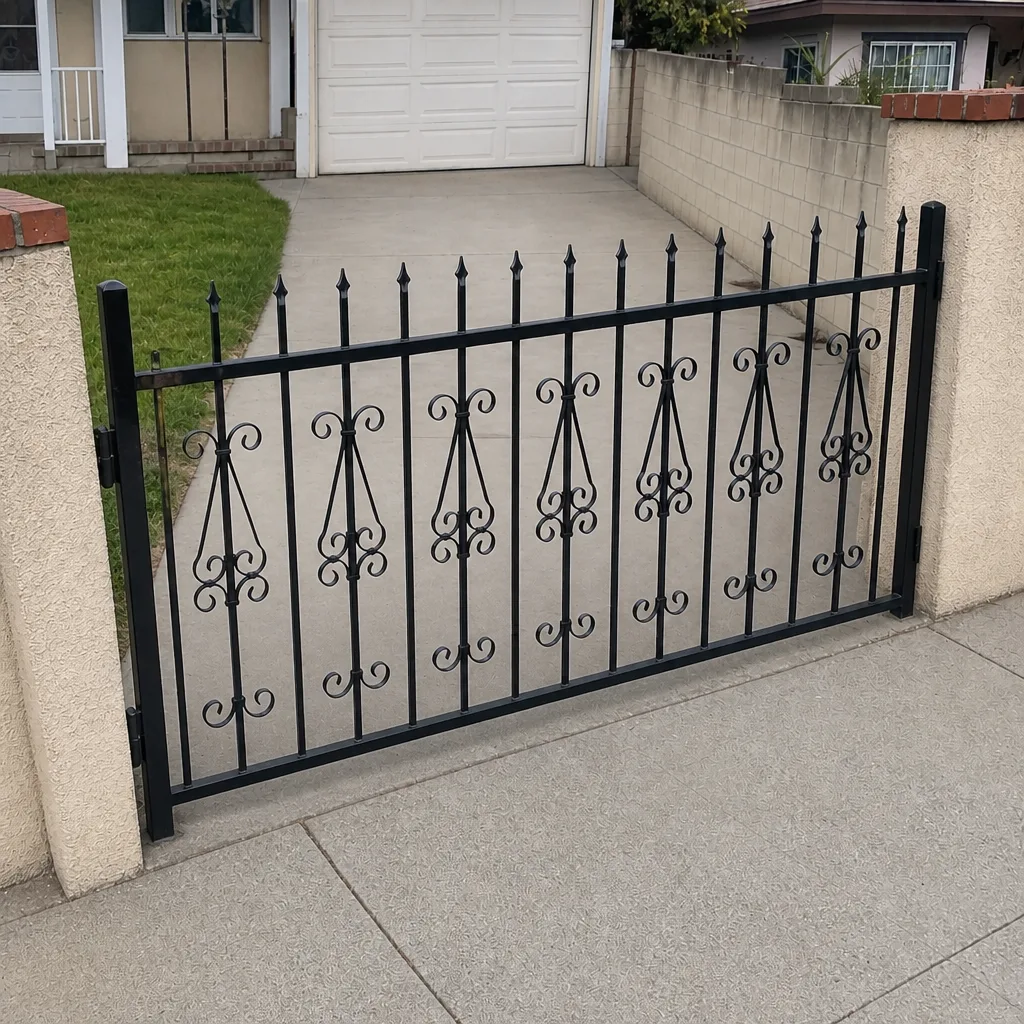 After
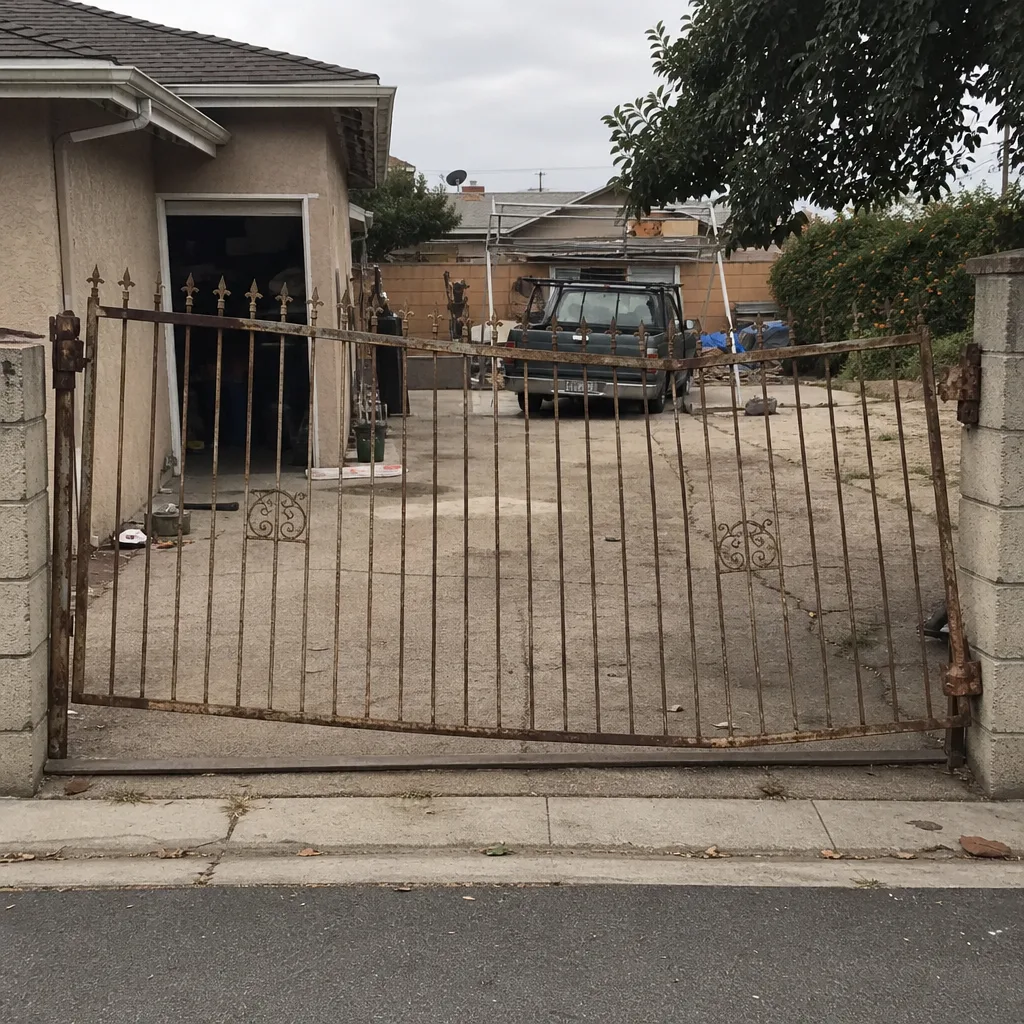 Before
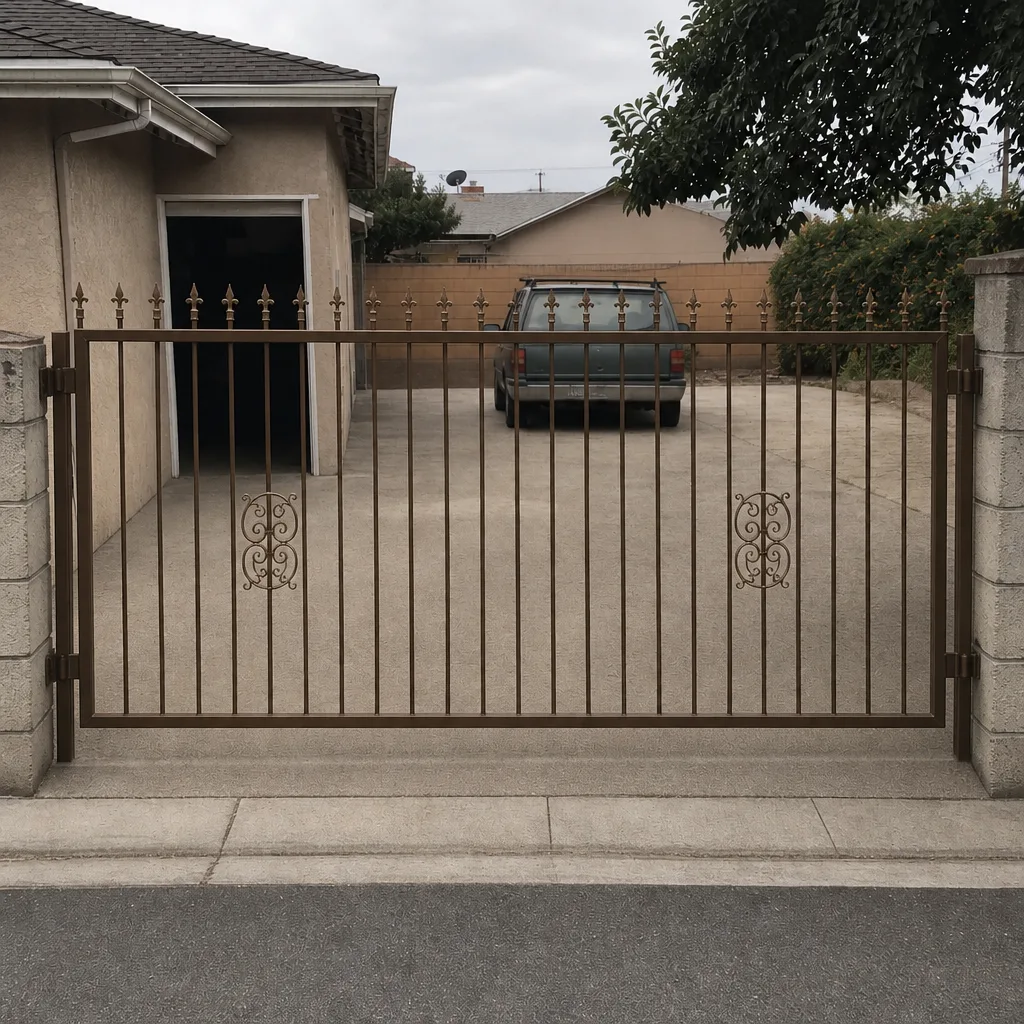 After