
Last updated November 4, 2026
 Wrought iron
 Wood & steel frame
 Farm & ranch
 Sliding driveway gates
 LiftMaster operators
Free on-site gate assessment - hinges, posts, and your LiftMaster or Nice gate operator checked before anything is quoted
The assessment is free and the quote is the invoice.
Get your free estimateDIY vs Professional Gate Repair: The Baldwin Park Homeowner’s Decision Guide
The conversation around gate repair usually starts with the wrong question. Homeowners ask, “Am I handy enough to fix this?” when the real question is, “What am I actually looking at, and what happens if I get it wrong?” We’ve watched a Baldwin Park homeowner confidently rewire a gate operator only to find the control board fried because the capacitor wasn’t discharged. We’ve also watched people pay for a service call to clear a twig from a photo eye track. The line between a ten-minute fix and a liability nightmare isn’t about ego or tool collection. It’s about failure category, system voltage, and who legally carries the risk. This guide gives you a working framework for making that call correctly, every time.
Styles & brands we work with
- Wrought iron
- Wood & steel frame
- Farm & ranch
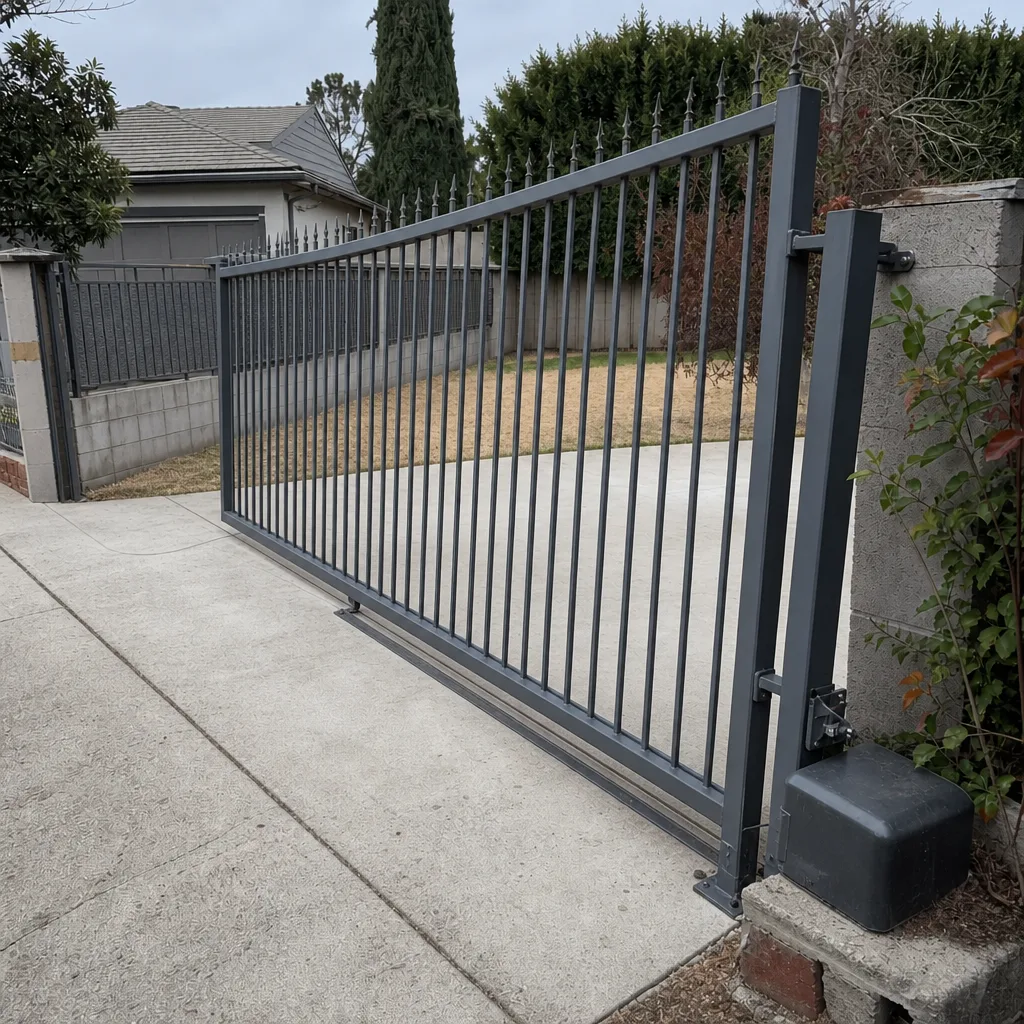
- Sliding driveway gates
- LiftMaster operators
Quick Answer
DIY gate repair is appropriate for low-voltage, non-structural tasks like remote reprogramming, obstruction clearing, and minor track debris removal. Professional repair is mandatory when the work touches high-voltage wiring, control boards, gate operator internals, load-bearing hinges, or any gate on a rental or commercial property where California contracting law shifts liability onto the owner. When in doubt, a free estimate from a gate specialist costs nothing and prevents a thousand-dollar mistake.
Table of Contents
- The Only Call You’re Actually Making
- Safe DIY: Repairs That Belong to You
- Documented DIY: The Gray Zone
- Professional-Only: Where It Crosses the Line
- The California Legal Line
- Warranty Language: LiftMaster, FAAC, and Viking
- How to Document DIY Work Without Hurting Yourself
- Common Mistakes to Avoid
- When to Call a Professional
- Frequently Asked Questions
- The Bottom Line
The Only Call You’re Actually Making
Every gate repair decision comes down to three variables: the system type, the failure category, and who owns the legal exposure. Skill matters, but it’s a distant fourth. A homeowner comfortable with a multimeter still shouldn’t touch a 120-volt operator feed, and a homeowner with no mechanical background can absolutely reset a BFT remote after a power blip. The problem with most DIY-versus-pro frameworks is they sort repairs by difficulty, when they should sort them by consequence. Difficulty is about whether you can do it. Consequence is about what happens if you’re wrong.
The failure categories that matter are mechanical, electrical, and systemic. Mechanical failures include worn hinges, sagging panels, bent tracks, and misaligned photo eye brackets. Electrical failures cover control boards, capacitors, wiring harnesses, limit switches, and motor windings. Systemic failures are the murky ones: a gate that works in the morning but not in the afternoon, an intermittent auto-reverse fault, an operator that trips a breaker only when the sun hits the control box. Baldwin Park’s mild, dry inland climate means corrosion and freeze damage aren’t part of the normal failure picture here, but heat cycles, dust intrusion, and power surges are. That changes which DIY tasks are genuinely low-risk on a Baldwin Park gate.
This guide works from one principle: the correct decision is the one that protects your property, your liability, and your warranty, in that order. Whether you call us or fix it yourself, we’d rather see you make an informed choice than a blind one.
Safe DIY: Repairs That Belong to You
Some gate repairs are genuinely appropriate for a homeowner with basic mechanical sense and a willingness to read the equipment manual. These tasks share three traits: they’re low-voltage or no-voltage, they’re reversible without consequence, and no manufacturer warranty language prohibits them. Here’s the short list, refined by what we see across gate repair calls in Baldwin Park.
1. Remote Reprogramming and Pairing
After a power surge or a battery swap, a Ghost Controls remote may lose its pairing to the receiver. Reprogramming takes about ninety seconds once you locate the learn button on the operator. This is the most commonly misclassified repair: homeowners pay for service calls to do what the instruction manual already explains. If you have the manual and the remote, do it yourself. If the receiver itself is not responding to any remote, that’s a different problem. Pairing failure after a known surge points to the control board, not the remote.
2. Obstruction Clearing
Photo eye sensors trigger auto-reverse when something breaks the beam. A weed, a child’s ball, or a trash can lid parked in the path will stop a gate in its tracks. Walk the full gate path and clear anything within six inches of the beam line. Then test with a deliberate obstruction. If the gate doesn’t reverse on clean contact, the obstruction isn’t the root cause. A misaligned photo eye bracket from a bump or wind jolt is also homeowner territory, provided the sensor wire hasn’t been pulled from its terminal.
3. Minor Track Debris Removal
Slide gates run on a steel track that accumulates dust, gravel, and leaf litter in Baldwin Park’s dry season. A stiff brush and a shop vacuum will clear the common clogs. This isn’t a repair so much as maintenance, but it’s the difference between a smooth gate and one that shakes and groans. If the track itself is bent or the wheels are binding, stop. Bent track replacement is professional work.
4. Battery Replacement in Solar or Backup Systems
Some Viking and Mighty Mule operators run on battery power with a solar trickle feed. Battery replacement is straightforward: disconnect the old battery, swap in the same voltage and terminal configuration, reconnect. Wear gloves. A swollen or leaking battery is hazardous waste and should be handled carefully. If the battery dies again within days, the charging circuit is failing, and that’s a board replacement job.
None of these tasks require opening a sealed motor housing, touching line voltage, or altering the structure of the gate itself. The risk profile is low, and the manufacturer’s warranty survives contact. For everything below, the calculus changes.
Documented DIY: The Gray Zone
There’s a middle category that most guides skip entirely: repairs a careful homeowner can perform, but only with documentation and a clear understanding of what they’re giving up. These tasks aren’t inherently dangerous, but they sit close enough to warranty-sensitive or safety-critical components that the wrong move has real consequences. If you’re doing these yourself, you’re accepting a role as your own quality-control department, and you should act like it.
Tightening and Realigning Hinges
Swing gates sag over years, especially heavy steel gates on Baldwin Park properties where the gate faces afternoon heat. Hinge bolts loosen. A homeowner can tighten hardware, but wholesale hinge replacement or welding is professional. The difference: tightening an existing bolt has no structural consequence if the bolt isn’t stripped. Replacing a hinge on a 400-pound gate has enormous consequence if the new hinge isn’t rated for the load. If you’re at the point of sourcing replacement hinge hardware, call someone who carries commercial-grade parts, not whatever’s on the shelf at the hardware store.
Photo Eye Alignment
Misaligned photo eyes are a false-positive source: the gate won’t move because the sensor thinks something is there. Realigning the bracket is usually a screwdriver job. But the sensors on a Linear or FAAC system are also part of the UL-325 safety loop. That’s the standard that prevents entrapment deaths. If you realign the sensors and the gate works fine, you’re done. If you’re tempted to bypass the sensor because it’s “annoying,” you’re volunteering for liability that no homeowner should carry. Never jumper a safety sensor. That’s not DIY, that’s negligence with a body count.
Lubricating Moving Parts with the Right Product
The wheels, rollers, and pivot points on any gate benefit from periodic lubrication. The trick: use a lubricant rated for gate hardware, not WD-40. Lithium or silicone spray on hinges, chain lube for the chain drive if your operator has one. Over-lubricating is a thing, and it attracts dust that accelerates wear in Baldwin Park’s dry air. A light annual pass is plenty.
If you’re doing any of this work, photograph it. We’ll cover documentation later, but the short version now: if it moves, note its position before and after. If you replace a part, photograph the old one, the new one, and the receipt. If a gate fails after you’ve worked on it and you can’t prove what you did, your insurance company will assume the worst, and the gate manufacturer will too.
Professional-Only: Where It Crosses the Line
Then there are the repairs where a homeowner should not pick up a tool at all. Not because we’re protecting service revenue, but because the failure mode involves voltages that can kill, mechanical forces that can crush, or warranty consequences that can cost more than the repair itself. These lines are not suggestions. They’re where we’ve seen the worst outcomes.
1. Any Touch of a Control Board or Capacitor
Gate operators run capacitors for motor start and control boards for logic. Capacitors hold a charge after power is disconnected. A homeowner switching off the breaker and opening the operator box is reaching into equipment that can still deliver a jolt. In electric gate repair, the first thing we do is discharge the capacitor with insulated tooling. The second thing we do is verify zero voltage on every contact point. The average residential gate operator pulls 120 volts, enough to stop a heart. We don’t say this to be dramatic. We say it because a functioning control board looks exactly like a dead one when the power is off, and the only difference is the stored charge.
2. Replacing an Operator Motor or Gear Assembly
The motor and gearbox inside a LiftMaster or BFT operator are factory-set for torque and limit parameters. Replacing a gear means matching tooth counts, mesh clearances, and limit switch timing. A wrong gear ratio doesn’t just wear out; it can drive the gate past its stops and fold a panel. The torque involved at a swing gate’s hinge line is measured in hundreds of foot-pounds, enough to break bones if the gate swings uncontrolled. This is why gate operators have warning labels advising against consumer-level repair.
3. Welding, Panel Replacement, or Structural Work
Any repair that requires a welder or structural steel is outside the homeowner envelope. Heat warps steel. A bad weld on a gate leaf hinge creates a stress riser that fails later, always at the worst time. Gate failures caused by structural fatigue are dangerous in slow motion: a cracked weld doesn’t announce itself until the gate separates from the post. If you see a crack, hear a new grinding noise, or feel resistance in the gate’s travel, stop using it and call for an assessment.
4. Loop Detector and Free-Exit Sensor Repair
Underground loop detectors tell the operator when a car is present. Repair requires cutting pavement, burying wire at a specific depth, and sealing it against moisture intrusion. Get it wrong and the loop either fails entirely or phantom-triggers, which leaves a gate open when it should be closed. This is one of the more common causes of “the gate was open all night” complaints from Gate Repair Baldwin Park customers.
5. Any Gate on a Rental or Commercial Property
California law changes the rules when the gate belongs to a property you don’t live in. More on this in the next section, but for now: if you own a Baldwin Park duplex, an apartment building, or a small commercial lot, you are not legally the person repairing your own gate. You’re a property owner making a hazardous-system repair decision on behalf of tenants or employees, and the liability picture is entirely different.
The California Legal Line
California defines gate installation and major gate repair as work that requires a contractor’s license in specific circumstances. A homeowner working on their own single-family residence generally isn’t required to hold a license for basic maintenance. But the moment the gate is on a rental property, an HOA common area, or a commercial site, the legal picture changes. The owner becomes subject to the same standards as a contractor, without the same protections.
Work that involves electrical systems, automated operators, or structural changes falls under specialty contracting rules that the state takes seriously. A property owner who performs licensed work without the license can face administrative penalties. More importantly, if the gate fails and injures someone, the owner’s insurance carrier will look for any reason to deny the claim. An unlicensed, undocumented repair on an automated gate is exactly the reason they look for. In Baldwin Park, where many homes sit on larger lots with long driveway gates and some residents own rental units, this isn’t a theoretical concern.
The practical rule we offer: if you live in the home and the gate serves only your residence, you have broad latitude for the safe DIY tasks in this guide. If the gate serves tenants, employees, customers, or common areas, treat every repair as a professional job with a paper trail, and verify the contractor carries the appropriate licensing for automated gate work. This isn’t bureaucracy. It’s the difference between a repair and a lawsuit.
Warranty Language: LiftMaster, FAAC, and Viking
Every major gate brand writes warranty exclusions that most homeowners never read until they need the warranty. The relevant language varies, but the pattern is consistent: repairs performed by unauthorized personnel, or repairs involving parts not specified by the manufacturer, void the coverage on that component and often on adjacent systems.
For LiftMaster, the operator warranty is tied to proper installation and maintenance by qualified persons. A failed control board that was opened and probed by a homeowner before the technician arrived is a denied claim waiting to happen. The board shows tool marks. The warranty language doesn’t care about your intentions.
For FAAC, the manufacturer’s documentation specifies that electrical components be serviced only by technicians familiar with the system architecture. FAAC operators are common on commercial gate systems in Baldwin Park, and their control boards are densely integrated. A homeowner replacing a capacitor on a FAAC board isn’t just risking the capacitor; they’re potentially compromising the board’s protection circuitry, which then takes out the motor driver on the next power cycle.
For Viking, the warranty documentation emphasizes authorized service for motor and gearbox components. The same principle applies across BFT, Linear, and Ghost Controls. None of these brands prohibit homeowner maintenance like lubrication or remote programming. All of them restrict internal electrical service. The moment you open a sealed housing and touch a board or motor, you’ve moved from “maintenance” to “repair that voids the warranty.”
Before you attempt any repair on a gate operator that’s still under warranty, find the warranty document and read the exclusion section. It’s usually one page. It will tell you exactly where the line is. If the gate is out of warranty, the financial argument for DIY changes, but the safety argument doesn’t. A ten-year-old operator still carries the same line voltage.
How to Document DIY Work Without Hurting Yourself
If you’re going to do safe DIY gate repair, the difference between a defensible position and a denied insurance claim often comes down to what you can prove. Documentation isn’t extra work; it’s a checkbox that takes ten minutes and pays off exactly when you need it.
- Photograph the gate before you start. Walk the full length, shoot the operators, the hinges, the control box, and any visible damage. The goal is to prove pre-existing condition. Date and time stamp the photos.
- Record the model number and serial number. It’s on a sticker or plate on the operator or the gate column. This is the single most useful piece of information for any future repair or insurance conversation.
- Photograph the specific part you’re touching before and after. A photo eye bracket, a battery compartment, a track section. If someone later claims your work caused a problem, you’ll have a visual record of what was and wasn’t altered.
- Keep every receipt for parts you buy. A $14 photo eye bracket from a hardware store is a litigated line item if the gate fails afterward. The receipt proves it was new and matched the required spec.
- Write three sentences about what you did and when. “Replaced remote battery, reprogrammed remote, tested auto-reverse, gate operated normally.” That’s it. Date it. File it with the photos.
- Test the gate’s safety function after any work. Put a traffic cone or a cardboard box in the gate’s path and trigger the auto-reverse with the obstruction detector. If the gate does not reverse cleanly, undo your work and call a professional.
This documentation matters in California specifically because the state’s liability environment means gate accidents generate serious claims. If your gate causes property damage or personal injury, your insurer will ask what you did and when. “I don’t remember” is not a defensible answer. “Here are photos and dates and a receipt” is.
Common Mistakes to Avoid
- Bypassing a safety sensor because it’s inconvenient. This is the most dangerous single decision we see from DIYers. A bypassed photo eye or a jumped safety input on a Linear or FAAC operator removes the only thing standing between a closing gate and a human body. It also opens the property owner to strict liability in California in the event of an injury.
- Ordering parts by brand name alone. “It’s a LiftMaster gear, it’ll fit.” No. Operators use model-specific internal parts. Gear ratios, mounting patterns, and motor shaft diameters differ across lines and years. Installing the wrong part is worse than installing no part.
- Using a household extension cord as a temporary power feed. Gate operators draw serious current at motor start. A 16-gauge extension cord will sag voltage, overheat, and eventually burn out the board or the motor. Either run proper conduit or don’t run anything.
- Ignoring the manual’s torque and limit instructions. Gate operators have adjustment procedures for a reason. Over-torquing the limit means the gate slams into the stops. Under-torquing means it falls short. Both are wearable failures, usually within months.
- Lubricating the control board or electrical contacts. Some guides recommend spraying everything with a general-purpose lubricant. Electrical contacts and boards do not get lubricated. They get cleaned with a dry, lint-free cloth. This mistake takes a working gate to a dead gate fast.
- Calling a generalist handyman for an electrical gate fault. In Baldwin Park, we get calls from homeowners who already paid someone else to “look at” a gate operator and got a loose wire tightened instead of a board diagnosed. Gate automation is a specialty, and the cost of the wrong diagnosis is the cost of another service call plus whatever the first person didn’t find.
When to Call a Professional
Call when the repair touches line voltage, a control board, a motor, a capacitor, structural steel, or anything on a property you don’t live in. Call when the gate is out of warranty but the failure is electrical, because the same safety rules apply. Call when you’ve done the safe DIY work and the gate still misbehaves. Call when the sound changes: a new grind, a clunk, a hesitation in travel. Baldwin Park gates wear predictably in our dry climate, and a noise change is the earliest warning of a failure that’s about to get expensive. We answer 24/7. Fast dispatch from 7am to 7pm, Sunday through Friday. Gate Repair Baldwin Park offers free estimates in Baldwin Park, and the price is set per job by the written estimate before any work starts, so there’s no surprise invoice. Call (855) 679-6795.
Frequently Asked Questions
A homeowner working on their own single-family residence can perform basic maintenance and the safe DIY tasks described in this guide. Work on rental properties, HOA common areas, or commercial sites falls under California specialty contracting rules, and the owner should hire a licensed professional for any electrical or structural gate repair.
Remote reprogramming, obstruction clearing, minor track debris removal, and battery replacement in solar or backup systems are genuinely low-risk tasks for a homeowner who reads the manual and works carefully. These tasks don’t involve line voltage, motor internals, or structural components.
Yes, for internal electrical service. LiftMaster, FAAC, Viking, BFT, Linear, and Ghost Controls all write warranty language that excludes repairs performed by unauthorized personnel on control boards, motors, and electrical components. Basic maintenance like lubrication and remote programming does not void coverage.
Electrical problems usually show up as intermittent function, total failure with no noise, or a breaker tripping in the control box. Mechanical problems usually come with noise: grinding, scraping, clunking, or a gate that binds at a specific point in its travel. If the gate moves but sounds wrong, it’s mechanical. If it doesn’t move at all and everything is silent, it’s likely electrical.
Stop using the gate immediately and disconnect power to the operator. Photograph the gate, the operator, and the point of contact. Do not attempt a repair that might alter evidence. Then call a professional gate specialist for an assessment and a written report. This is not a situation where you want to guess at the failure cause.
Yes. We work on LiftMaster, FAAC, BFT, Linear, Viking, Ghost Controls, DoorKing, Elite, and Mighty Mule systems, both residential and commercial. We’re brand-agnostic, which means the recommendation is always what’s right for your gate, not what’s on a truck. Call (855) 679-6795 for a free estimate.
The Bottom Line
DIY gate repair isn’t a single category; it’s a spectrum, and Baldwin Park homeowners make the wrong call in both directions. The tasks that are safe to DIY are narrower than most guides admit, but they do exist: remote reprogramming, track clearing, hinge inspection, safe lubrication. The tasks that are professional-only are broader than most homeowners want to hear: control boards, motors, capacitors, anything with line voltage, anything structural, and anything on a non-owner-occupied property. The right decision comes from identifying the failure category first, checking the warranty language second, and documenting whatever you do third. When the line is unclear, and sometimes even when it isn’t, a free estimate from a gate specialist settles the question without cost.
Written by the team at Gate Repair Baldwin Park, serving Baldwin Park since 2015.
See the difference
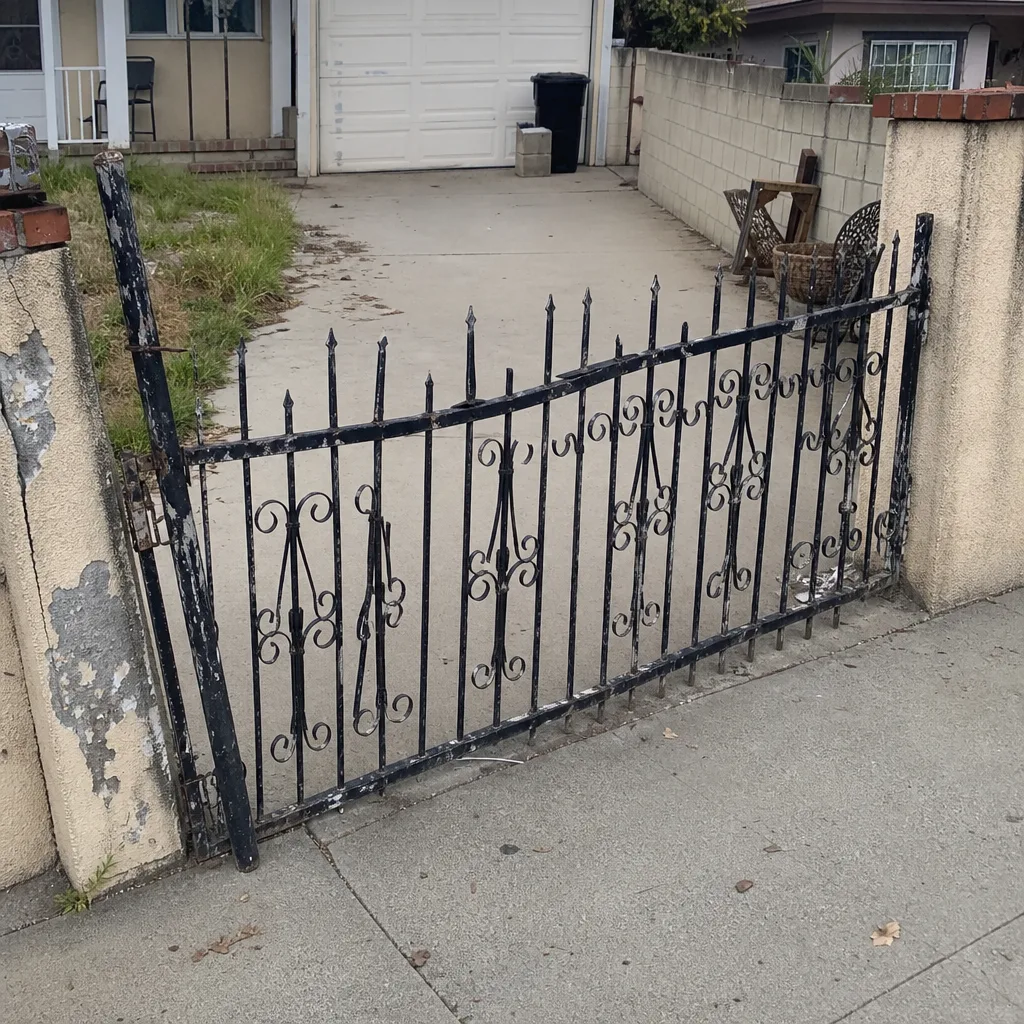
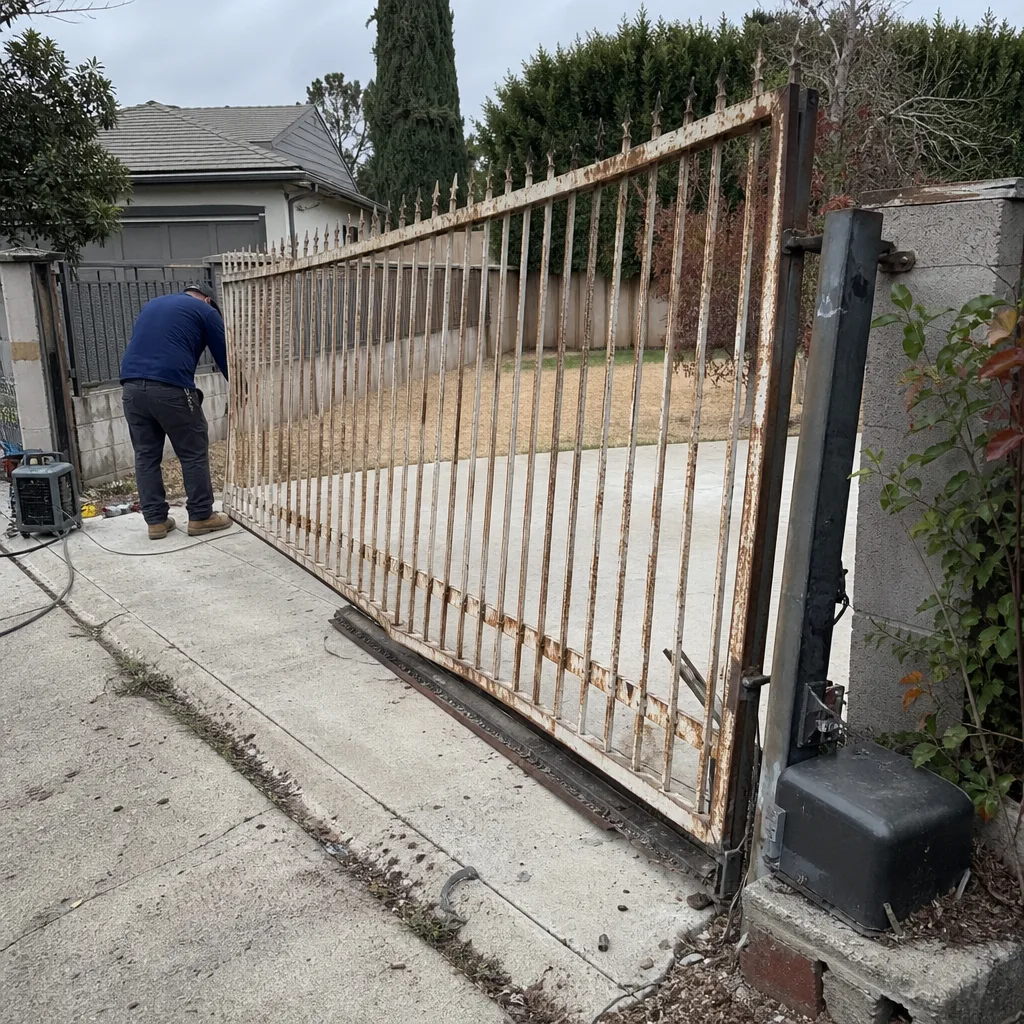 Before
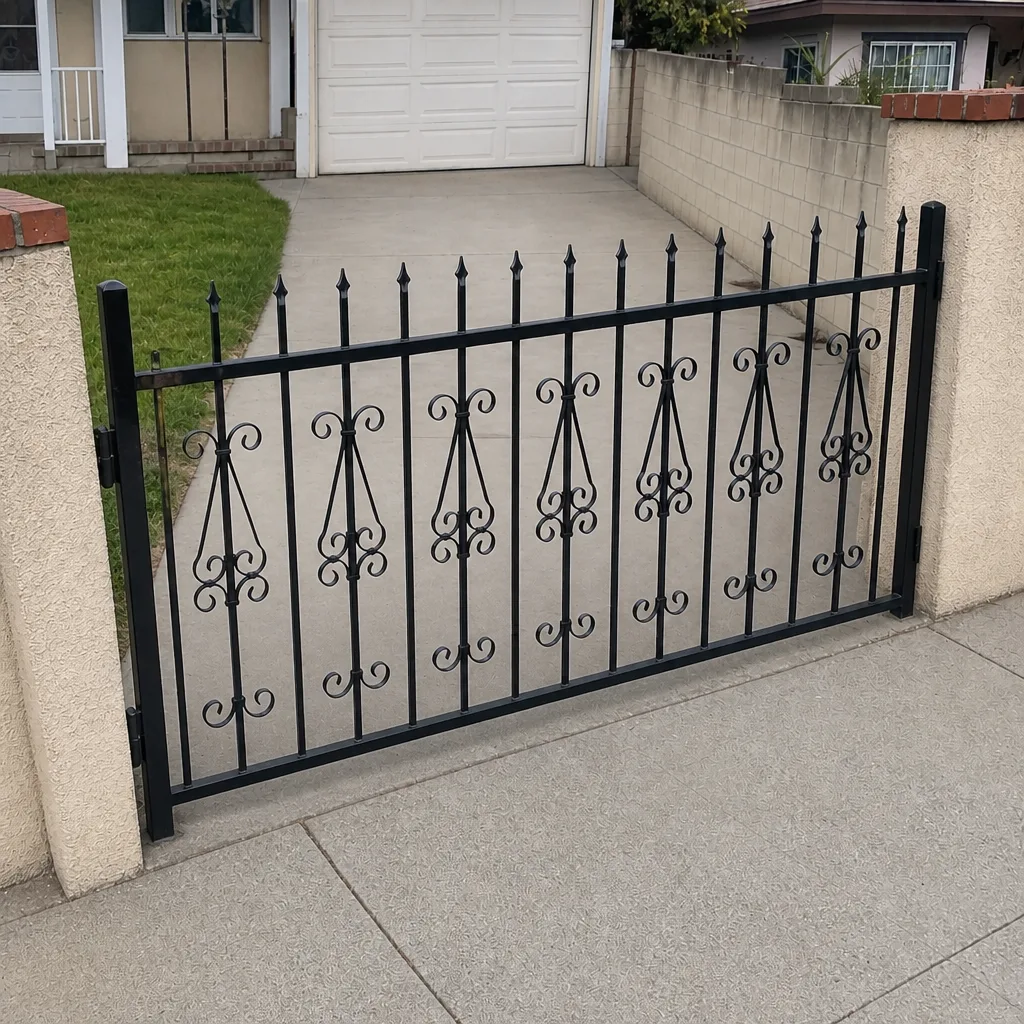
 After
 Before
 After
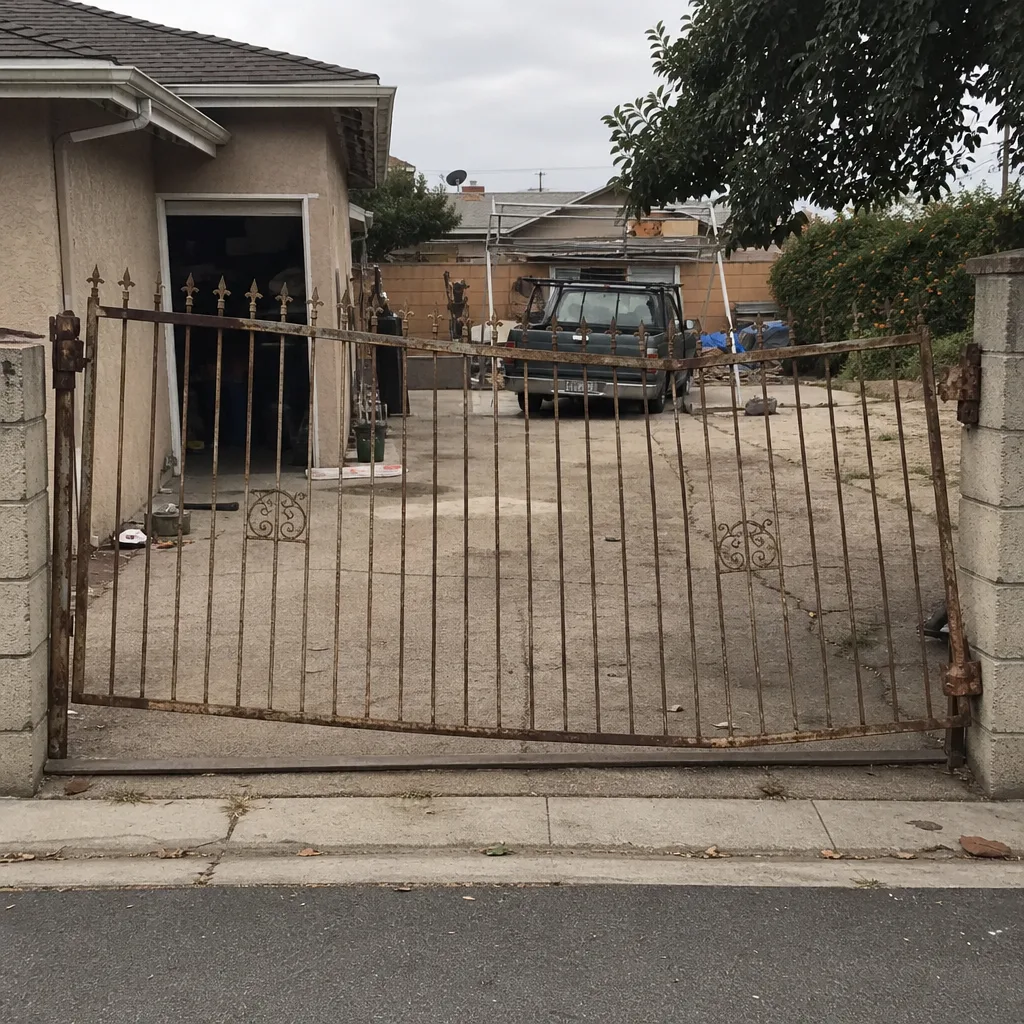 Before
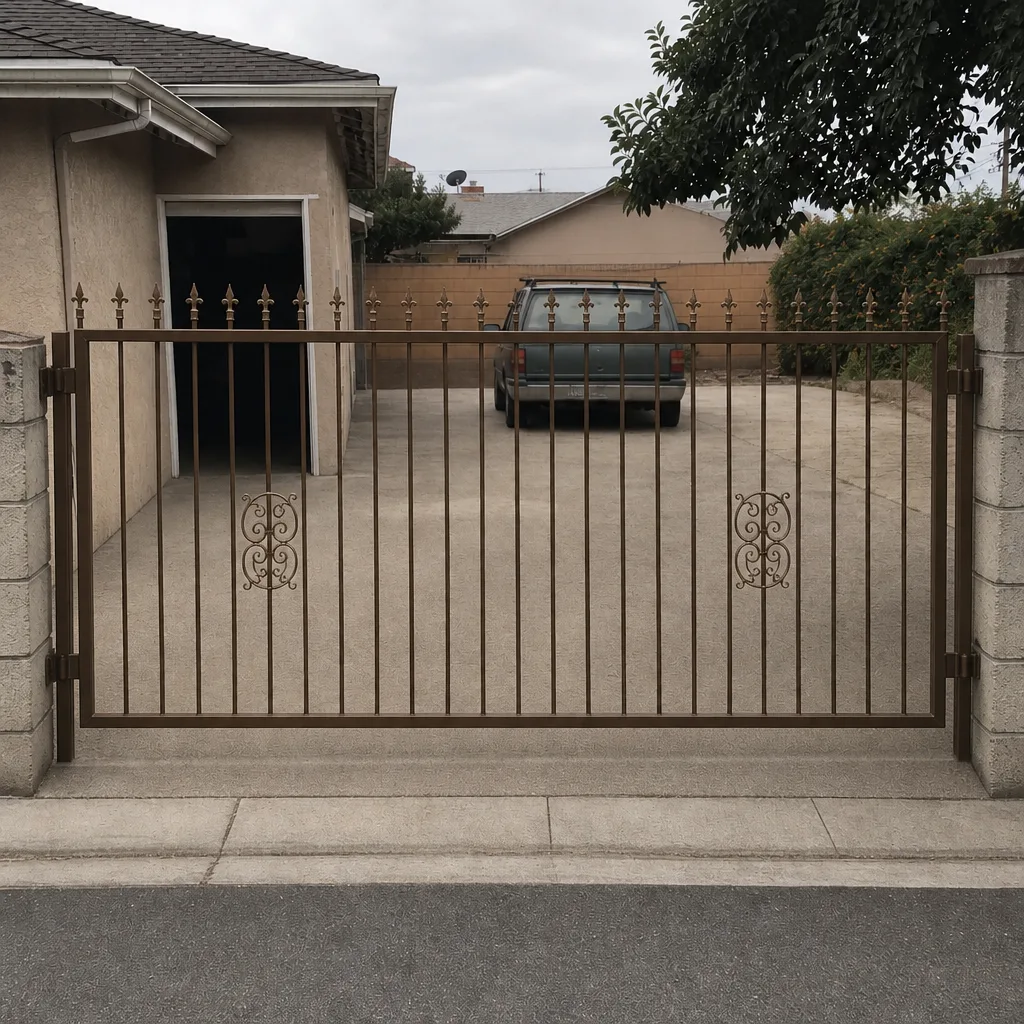 After